Want to grow your own garlic but don’t have a garden? You’re in luck! With just one simple trick, you can grow a ton of garlic in containers—even if all you’ve got is a small patio, balcony, or sunny windowsill. No green thumb required.
This guide will walk you through everything you need to know to grow garlic from a single bulb—all in a container. Whether you’re a first-time gardener or a seasoned plant parent looking to maximize your harvest in a small space, this method is a game-changer.
Why Grow Garlic in Containers?
Let’s face it: not everyone has access to a big backyard. But garlic doesn’t care. As long as it gets sun and some decent soil, garlic will thrive in containers—and you get all the fresh, flavorful cloves you’ll ever need.
Here’s why container garlic is worth a try:
- No weeds, less maintenance
- Fewer pests and diseases
- Easy to move around for sun exposure
- Ideal for patios, decks, and balconies
- Great for controlling soil quality
The One Bulb Trick That Changes Everything
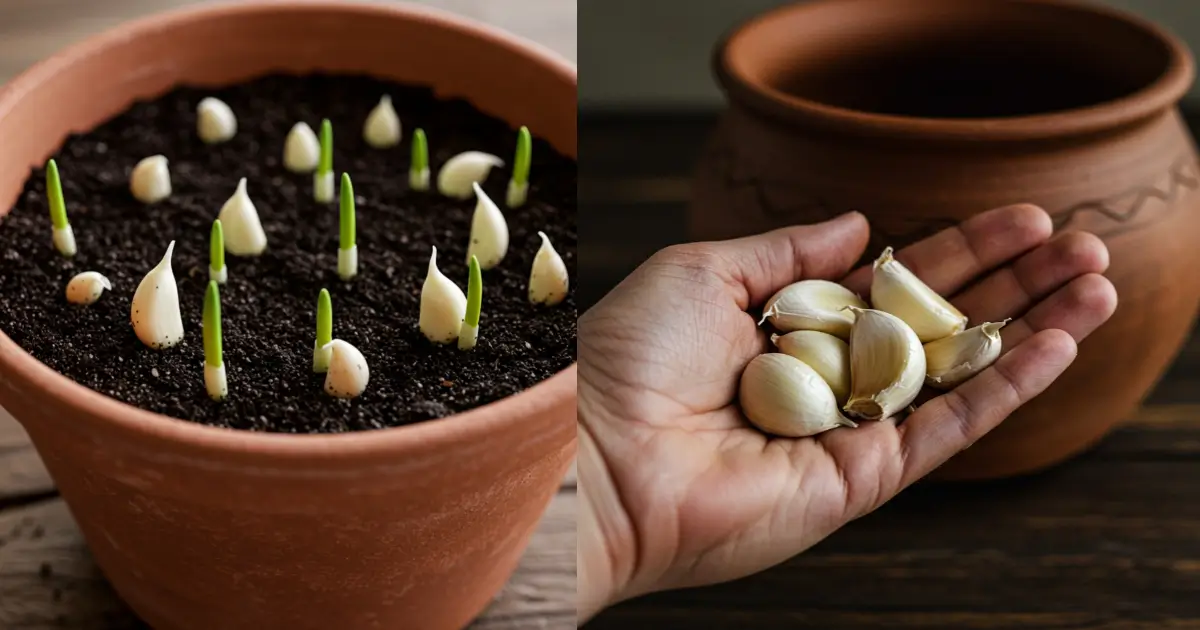
Alright, here’s the trick: break apart one garlic bulb into individual cloves—and plant each one separately. Every single clove will grow into a full new bulb. That’s right—one bulb can turn into eight to twelve new ones.
It’s the closest thing to magic you’ll find in the gardening world.
What You’ll Need
Before you get started, gather your supplies:
- 1 healthy garlic bulb (preferably organic, non-sprayed)
- A container at least 10–12 inches deep
- Potting soil (well-draining, loose, and rich in organic matter)
- Optional: compost, mulch, or fertilizer
- A sunny spot (6+ hours of sunlight daily)
Step-by-Step: How to Grow Garlic from a Bulb in a Container
1. Choose the Right Garlic Bulb
Pick a firm, healthy bulb with plump cloves. Avoid anything soft, shriveled, or moldy. Hardneck garlic is great for colder climates, while softneck varieties do better in warmer zones.
Pro tip: Use garlic from a nursery or garden center—not the grocery store. Some store-bought garlic is treated to prevent sprouting.
2. Break It Apart—But Don’t Peel the Cloves
Gently separate the bulb into individual cloves. Leave the papery skin on—this protects the clove while it establishes roots.
3. Prep Your Container
Grab a pot that’s:
- At least 10–12 inches deep
- Has drainage holes
- Wide enough to space cloves 4 inches apart
Fill the pot with quality potting mix. Mix in a bit of compost or slow-release fertilizer if you’ve got it.
4. Plant the Cloves Pointy Side Up
Push each clove about 2 inches deep, with the pointy end facing up. Space them 4–5 inches apart so they’ve got room to form bulbs.
Water well after planting.
5. Give It Plenty of Sun and Water
Place the container in a sunny spot—garlic loves the sun. Water whenever the top inch of soil feels dry, but don’t let it get soggy.
6. Mulch for Moisture (Optional but Helpful)
A light layer of straw or shredded leaves can help retain moisture, regulate soil temperature, and reduce weeds (yes, even in pots).
7. Wait for the Green Shoots
In a couple of weeks, you’ll see green shoots popping up. That means the roots are doing their thing underground.
Let the garlic grow undisturbed through fall and winter (if planting in fall), or through spring and early summer if planting in spring.
8. Watch for Yellowing Leaves—That Means It’s Harvest Time
Garlic is ready to harvest when the bottom leaves start to turn brown and dry, usually in late spring to early summer. Don’t wait until all the leaves are yellow—just the bottom third is enough.
Gently loosen the soil and pull up your garlic. Let it cure (dry out) in a cool, dry place for a couple of weeks.
Bonus Tips for Bigger, Better Garlic
- Don’t overwater. Garlic hates soggy soil.
- Feed with compost tea or an organic fertilizer every 3–4 weeks.
- Remove any flower stalks (called scapes) that appear—this helps the plant put energy into the bulb.
When’s the Best Time to Plant Garlic?
- In most areas, the best time is mid-fall (October or November), about 4–6 weeks before the ground freezes.
- In warmer zones, you can also plant in late winter or early spring for a smaller but still tasty crop.
What to Do With Your Garlic Harvest?
Once your garlic is cured, you can:
- Store it for months in a cool, dry place
- Roast it whole for sweet, mellow flavor
- Chop and freeze for quick cooking
- Replant some of the cloves for next season
Final Thoughts: One Bulb, Endless Garlic
It’s wild to think that one garlic bulb can turn into a whole harvest—right in a pot! Whether you’re short on space or just love growing your own food, garlic is one of the easiest and most rewarding plants to grow in containers.
So grab a pot, pop in a clove, and get growing. Your future self—and your kitchen—will thank you.