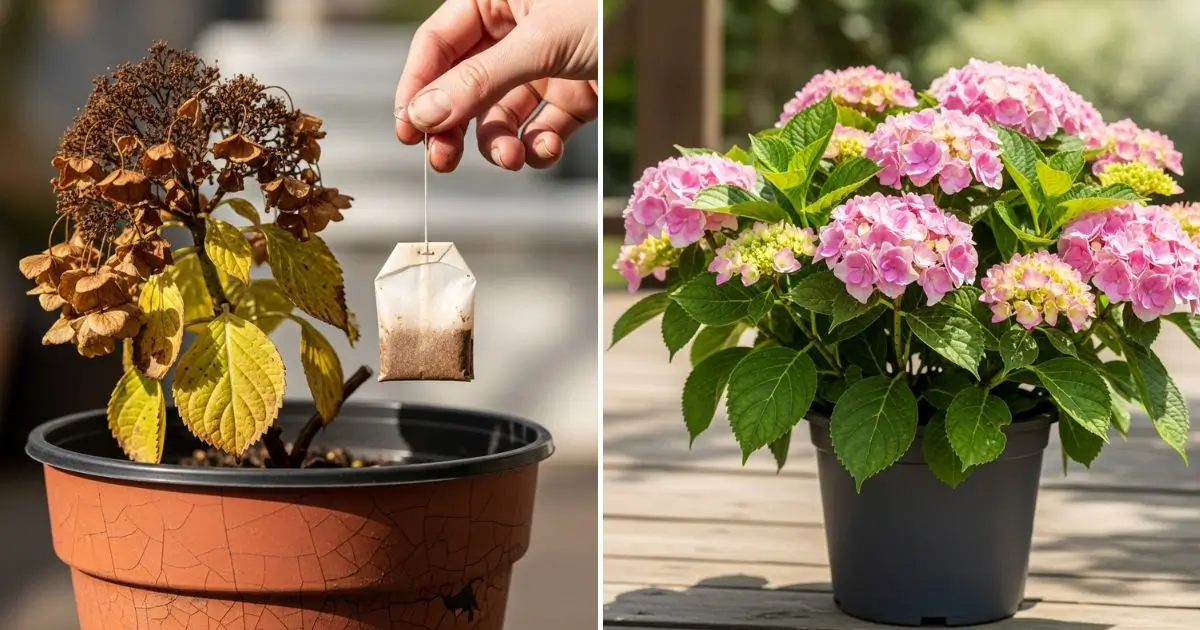
Hydrangeas are among the most stunning garden flowers, but when their blooms start to wilt or their leaves droop, it’s heartbreaking. Before you reach for expensive fertilizers or complicated treatments, there’s a simple, almost magical trick hiding right in your kitchen: a used teabag. That’s right—your morning cup of tea could be the secret to bringing your hydrangeas back to life overnight.
In this article, we’ll uncover how teabags work as a natural booster, why hydrangeas love them, and exactly how to use this everyday item to revive your plants.
Why Hydrangeas Wilt in the First Place
Hydrangeas are thirsty plants with shallow roots, which makes them quick to droop if they don’t get the right conditions. Common reasons include:
- Underwatering or heat stress – Hot days can leave them looking sad by evening.
- Nutrient-poor soil – Hydrangeas thrive in rich, slightly acidic soil.
- pH imbalance – Soil that’s too alkaline makes it harder for them to absorb nutrients.
- Transplant shock – Recently moved plants often sulk until they settle.
Luckily, a used teabag can help tackle more than one of these problems at once.
The Secret Power of a Used Teabag
Tea leaves are rich in natural compounds that hydrangeas adore. Here’s why they work so well:
- Acidifies the soil naturally – Hydrangeas love slightly acidic conditions, and tea helps lower the pH.
- Adds organic matter – Tea leaves break down into the soil, feeding beneficial microbes.
- Provides key nutrients – Nitrogen, potassium, and tannins in tea encourage stronger roots and lusher growth.
- Boosts moisture retention – Used teabags help the soil hold water longer, keeping hydrangeas hydrated.
It’s like giving your plants a gentle, nutrient-rich energy drink—without any chemicals.
How to Use a Teabag to Revive Hydrangeas
Here’s the step-by-step guide to using your teabag trick effectively:
- Brew and Save – Enjoy your tea, then set the used teabag aside. Let it cool completely.
- Prepare the Soil – Water your hydrangea lightly to soften the soil and help nutrients absorb better.
- Apply the Teabag – Tear open the cooled teabag and sprinkle the damp tea leaves directly around the base of your plant.
- Work It In – Gently mix the leaves into the top inch of soil, or cover with a thin layer of mulch.
- Hydrate Again – Give your hydrangea another light watering to wash nutrients into the roots.
By the next morning, you’ll often see leaves perked up and flowers looking fresher. For long-term benefits, repeat this trick once or twice a week.
Extra Tips for Maximum Bloom Power
- Mix with Compost – Add teabags to your compost pile for even richer soil amendments.
- Combine with Coffee Grounds – The duo is perfect for creating hydrangea-friendly acidic soil.
- Use as Mulch Packs – Place whole teabags around the base to lock in moisture.
- Don’t Overdo It – Too many teabags at once can make the soil overly acidic. Moderation is key.
Other Plants That Love Teabags
While hydrangeas respond beautifully to this trick, they’re not alone. Other acid-loving plants also thrive with teabag treatments, including:
- Azaleas
- Camellias
- Roses
- Blueberries
This makes teabags a budget-friendly, all-purpose garden hack.
Final Thoughts
Who knew that something as simple as a used teabag could breathe new life into drooping hydrangeas? Not only is this hack quick and effective, but it’s also eco-friendly and practically free. Next time your hydrangeas look tired, skip the pricey fertilizers and reach for your kitchen’s most overlooked gardening tool.
With this trick, you’ll keep your hydrangeas lush, vibrant, and blooming beautifully all season long.
